As video editors, our job is to narrate a story using various visual cues. In order to do this, we often need to zoom in on certain aspects of the footage to give the viewer a closer look.
Zooming in and out is also a great way to add energy to your cuts, build tension, and in general just enhance the overall feel of your video.
The good news is that zooming in and out of footage in Adobe Premiere Pro is incredibly simple.
In this quick tutorial, I’ll show you the easiest way to zoom in and out of footage in Premiere Pro.
Or perhaps you’re here to learn how to zoom in and out of your timeline while editing in Premiere? I’m covering that as well, so stay tuned.
1 – Zoom In and Out Using Scale
The first method that we’ll explore is the easiest to execute.
It’s the perfect solution if you want to zoom in on an entire clip or if you want to use a jump cut to get you zoomed in or out quickly.
Jump cuts are one of the most commonly used techniques in editing as they help to add energy and keep the viewer engaged.
A jump cut is simply two shots that similar in nature (often from the same original clip), but have a slight difference, usually in the framing. There is usually no transition to move you from one shot to the next, hence the ‘jump’ reference.
This creates a jarring effect that can be used intentionally to create energy or style, depending on the tone of your project.
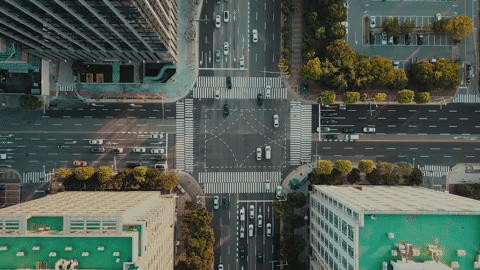
Here is an example of what a jump cut with a zoom in looks like.
To start, you need to create a cut on each side of the clip that you’d like to zoom in on.
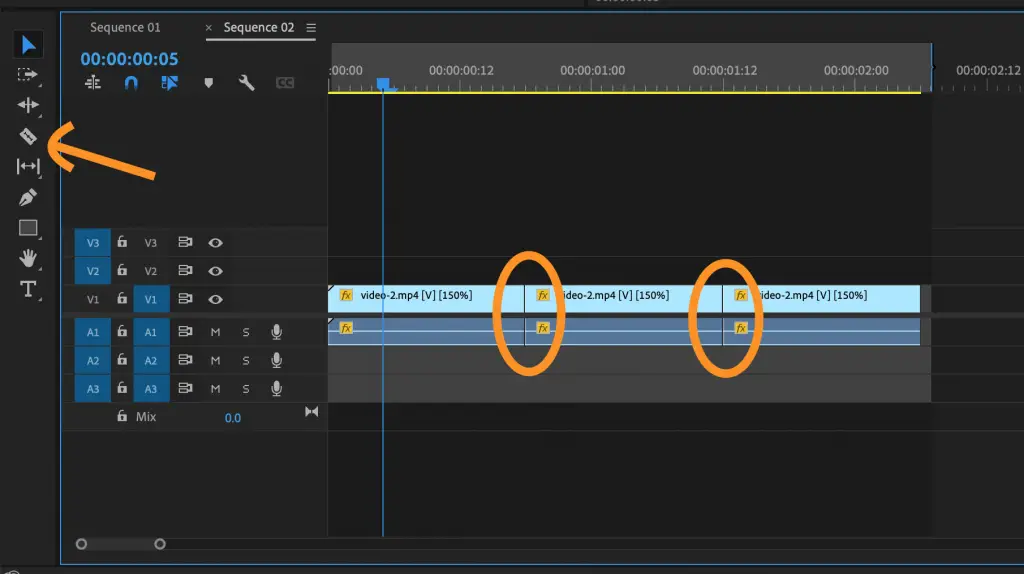
Press the keyboard shortcut ‘C’ to select the razor tool. Now when you hover over your footage, you will see a little razor tool where your mouse is. When you click your mouse, it will create a cut in your footage. Make a cut at the beginning and end of where you want your footage to be zoomed in or out.
For more detailed instructions on how to cut and split a clip, be sure to check out my article explaining exactly how to split a clip in Premiere Pro.
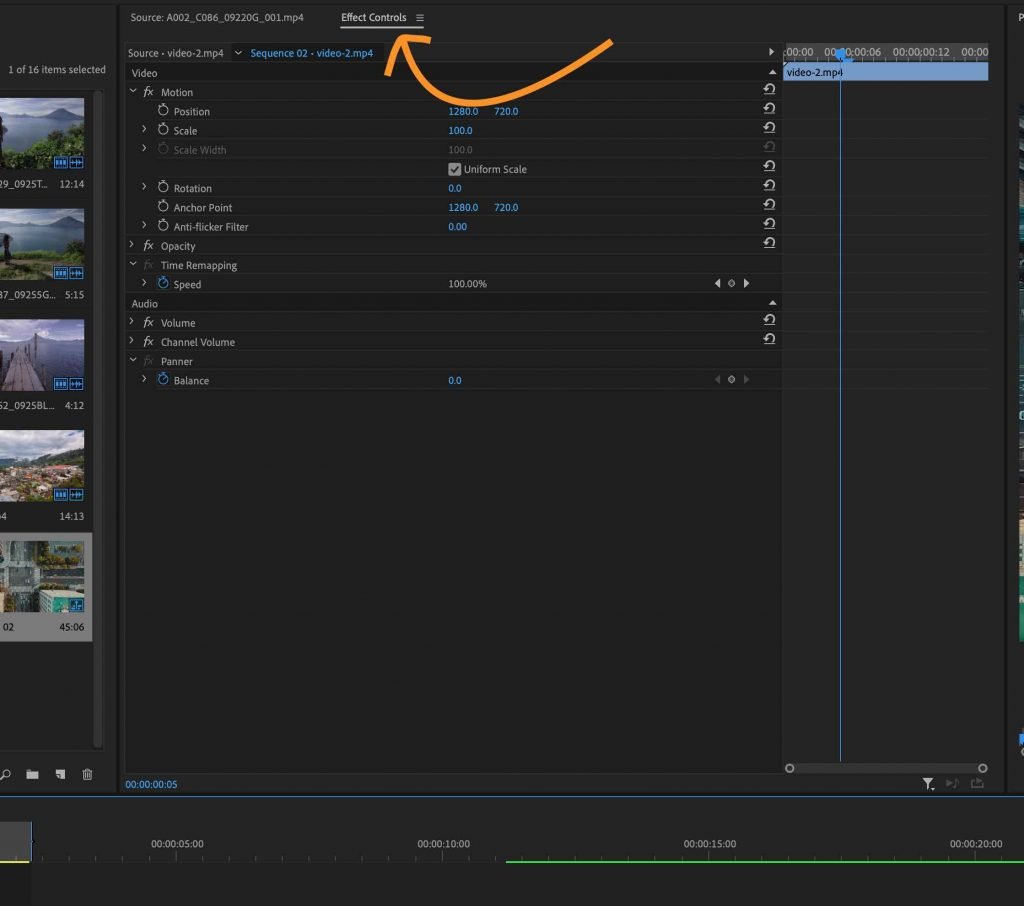
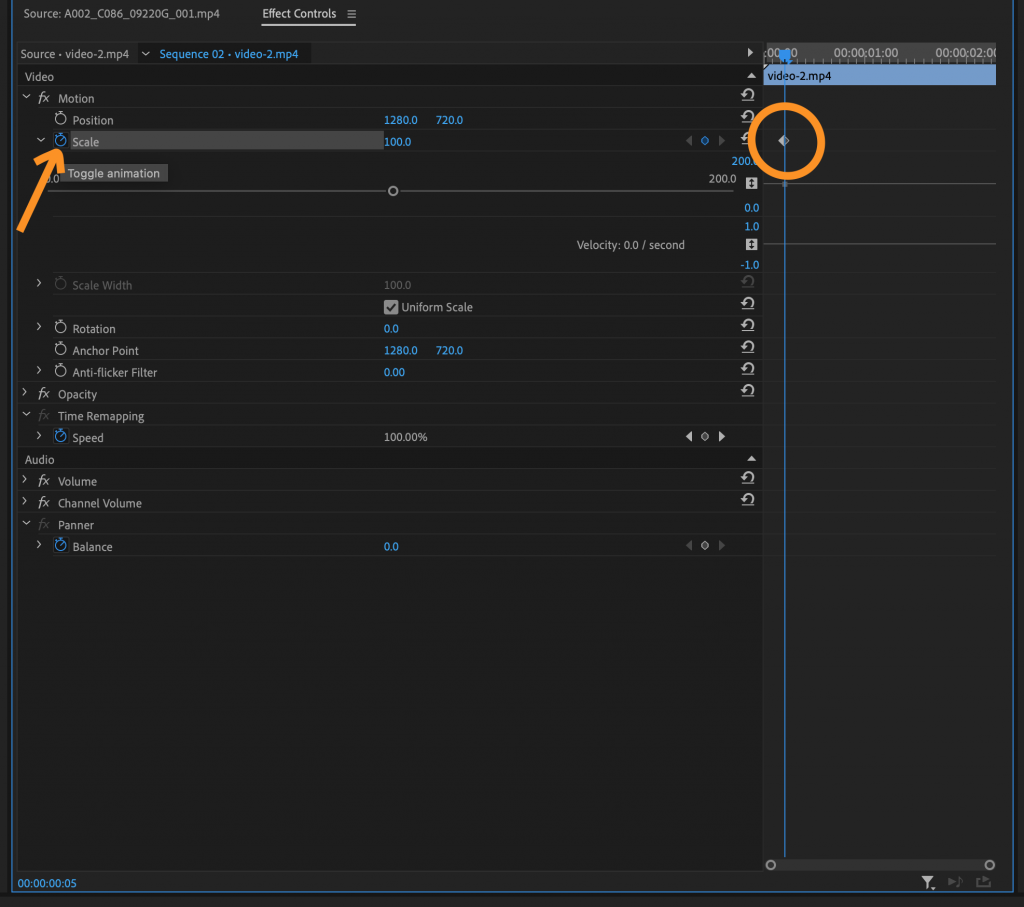
Now we are ready to zoom in. Double click the clip you want to zoom in on.
Next, click into the Effects Controls panel in your source window (top middle).
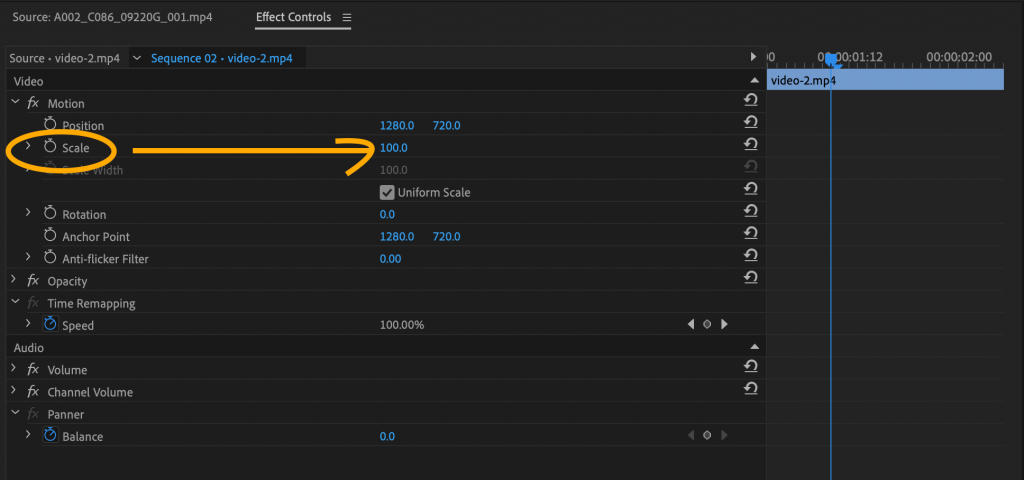
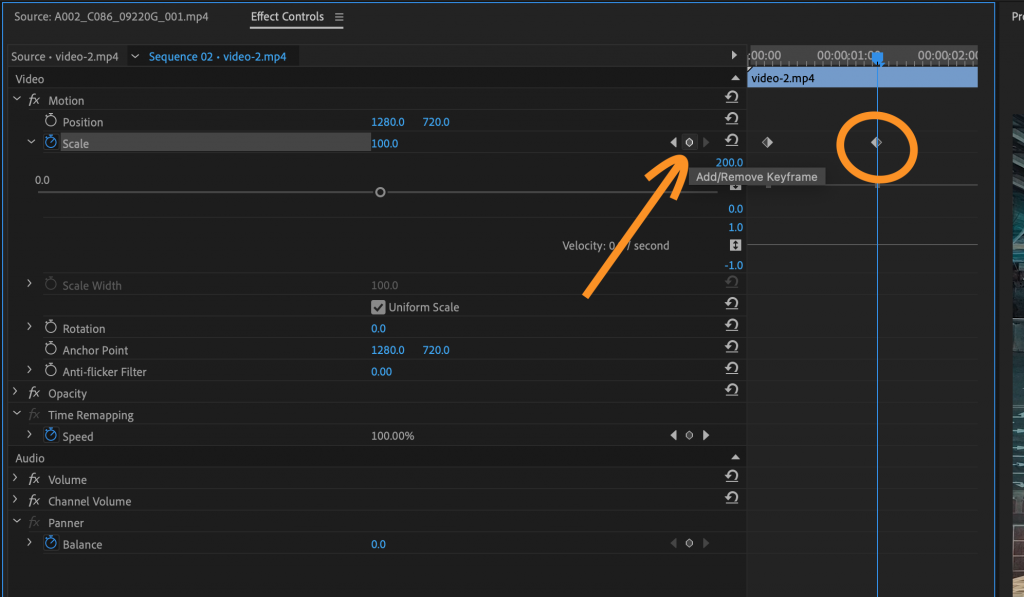
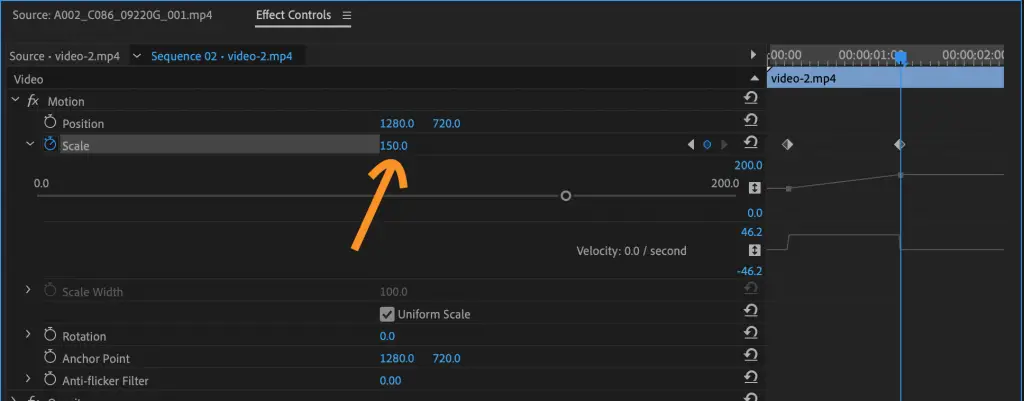
From here, you can drag the scale parameter to your desired zoom level. As you drag the amount, you will see it take effect on your footage in the program window.
For the example above, I went from 100% scale on the first clip, to 150% on the second clip, to 200% on the third clip.
At this point you do want to be cognizant of your video resolution. If you zoom in too much, your video quality will start to degrade. Make sure your original video is at the highest resolution possible to start with and use the amount of zoom sparingly.
You will only be able to zoom in so much before you start to see pixelation and lack of quality. This amount will vary depending on the original resolution of your video.
2 – How to Change the Focal Point of Your Zoom
In the program window (right-side editing window), you will see some tick marks right in the middle of the screen. Click on this little box and drag it to the desired focal point of your zoom.
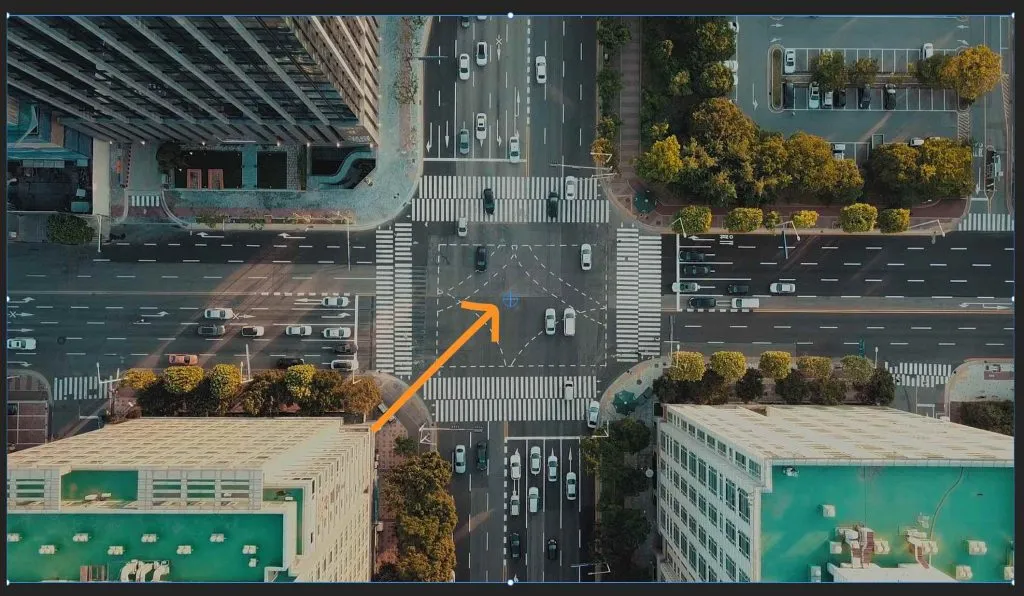
If you don’t see this blue circle, make sure you have selected the ‘scale’ parameter in your source window to the left.
As you can see, this changes the point of focus for your zoom selection and allows you to more precisely narrow in certain areas of your clip.
While using jump cuts is somewhat on trend right now for certain styles of videos, it doesn’t always match the style that you may be going for.
Let’s explore the second way to zoom in on Premiere Pro. This method will allow you to make a much more subtle and smooth zoom in movement.
3 – How to Slowly Zoom In and Out in Premiere Pro
Let’s take a look at a much more controlled and natural way of zooming in on Premiere Pro. This method has a few more steps, but fear not, it’s still pretty straightforward.
We’ll walk through using keyframes to change the speed and amount of zooming happening during our video.
Learning to Use Keyframes in Premiere Pro
While it may seem more difficult at first, once you get over the initial hump of learning exactly what keyframes are and how they work in Premiere Pro, you will realize how helpful and necessary they are to making better edits.
Using keyframes to create our zooming motion will allow the movement to be as smooth and quick as you want it.
The keyframes will give you full control over the zoom effect, which is what we want.
First, you want to make sure your playhead is at the beginning of where you want the zoom to begin.
We’ll make our first keyframe here. To create the first keyframe, navigate back up to the source window. Open up the scale parameter drop down. Click the stop-watch icon.
When you see that little marker on the right side, it means you’ve successfully created a keyframe.
Leave the scale settings where they are for now.
Remember that the keyframe is created exactly where you left your playhead, so when you begin playing your video again, the playhead will move. You can also drag the playhead to a spot further down your timeline.
Stop the playhead (or drag it) to the exact spot where you’d like to finish your zooming motion. Once you have in there, select the little dot on the far right side of the scale parameter to create your next keyframe.
You should now see two keyframes on the right side, with a sloping line upwards.
Now place your playhead back at the beginning and play the clip. You should see a distinct zoom in on your footage.
How to Adjust Keyframes to Make the Zoom Smoother
You will no doubt want to refine the movement to make it longer, shorter, smoother, more precise etc.
The great news is now that your keyframes are in place, you can drag and drop them to extend the starting and ending points of your movement.
You can move the sloped lines up or down to create more or less of the overall zoom.
Or your can adjust the little blue lines at the very bottom to make the easing in and out of the zoom more smooth. Simply pull each of the ends of those lines further out and you’ll see a bezier curve begin to form. This will smooth out your zoom.

4 – How to Zoom In On Premiere Pro Without Losing Quality
Honestly, there’s no magic solution to zoom in on Premiere Pro without losing quality.
The more you zoom in, the more likely you are to see a degradation in image quality.
Here’s why: zooming in essentially just enlarges the pixels that are already there. So if your original footage wasn’t shot in super high quality, zooming in is going to make that more obvious.
Anytime that you are ‘zooming’ in post production (after the footage has already been captured in a camera), the movement is actually artificial. This means that while our eyes interpret the movement as a zoom, what’s actually happening is that we are expanding the footage itself.
We are scaling up a clip of footage that has a predetermined number of pixels. As those pixels become bigger and bigger, they become more and more apparent to our human eye, which results in ‘pixelation’ or lack of resolution.
5 – Best Presets for Zoom In Effect
Now that we’ve covered the basics of creating your own zoom in Premiere Pro, let’s take a look at how to get a more advanced and stylized zoom effect.
One of the quickest and most effective ways is to use a pre-made template, called a preset to create a zoom in Premiere Pro.
Presets are such a great tool to utilize in order to save time while editing. You can learn more about what a preset is and how to use Motion Graphic templates in Premiere Pro here.
There are a ton of great zoom presets out there, but here are a few at the top of my list.
You’ll need to create a free trial account with Envato Elements to use them in your project, but I encourage you to check them out. I’m a member myself and use these templates constantly. It’s well worth the small monthly fee in my opinion.
1 – Zoom Transitions Constructor
Zoom Transitions is a huge Premiere Pro preset package with a wide range of unique transition effects.
This collection has a total of 14 zoom effects. And there are eight in-and-out slide transitions as well.
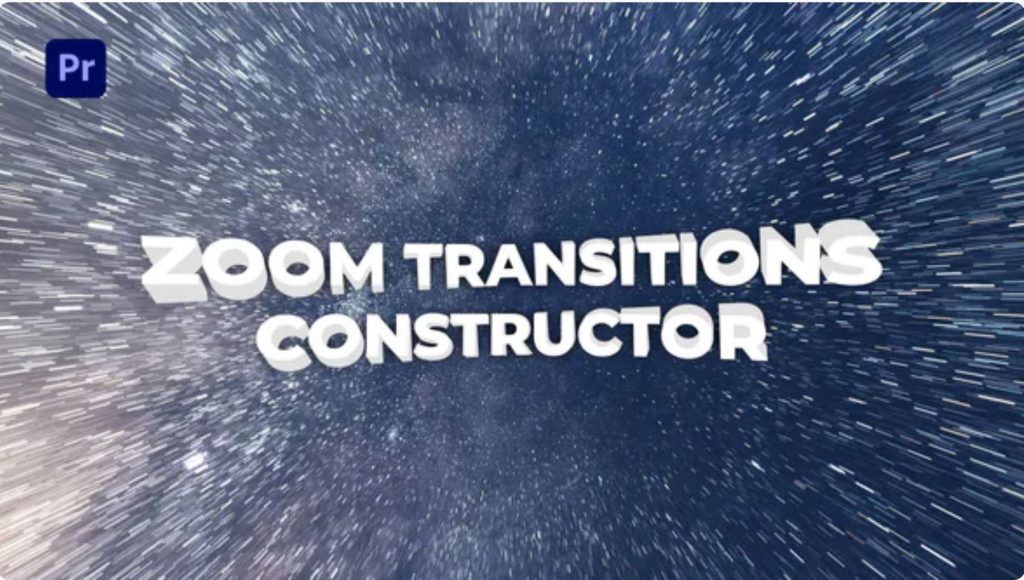
I love that you can easily combine your transitions with one another to make limitless options. You can mix and match any number of animations, as well as use the zoom effect to build the transitions you’re looking for.
A great option for commercials, trailers, teasers, corporate presentations, business slideshows, advertisements, and events videos.
2 – Zoom Transitions 2.0
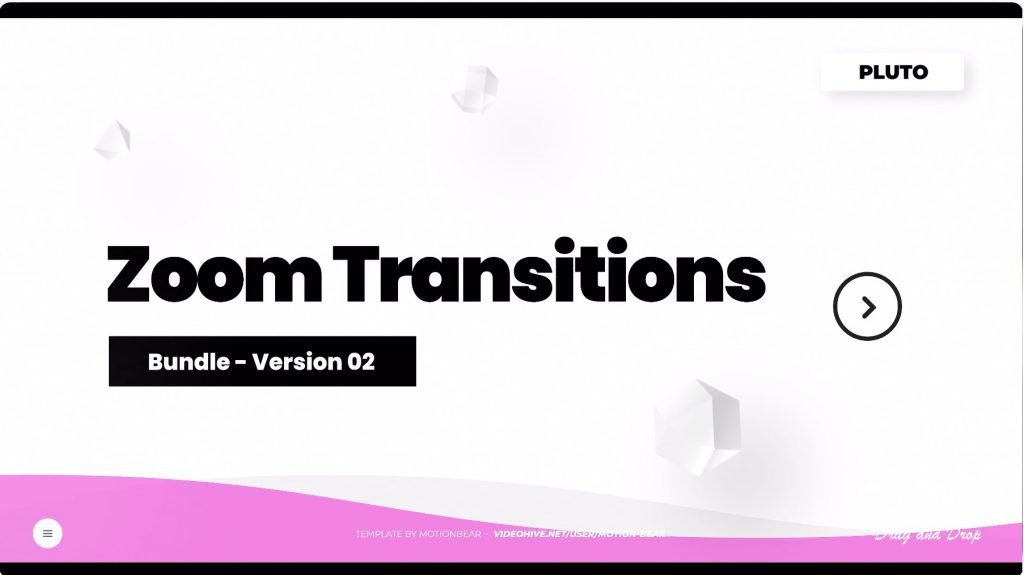
Here’s another bundle of great zoom transitions to add to your toolbox. Not only are these smooth and seamless zooms, but I love how easy they are to implement into your project.
This set uses an easy drag and drop method to add the zoom effect to your footage. It also includes built in sound effects and allows you to easily alter the transition speed of each zoom.
3 – The Most Useful Transitions Pack for Premiere Pro
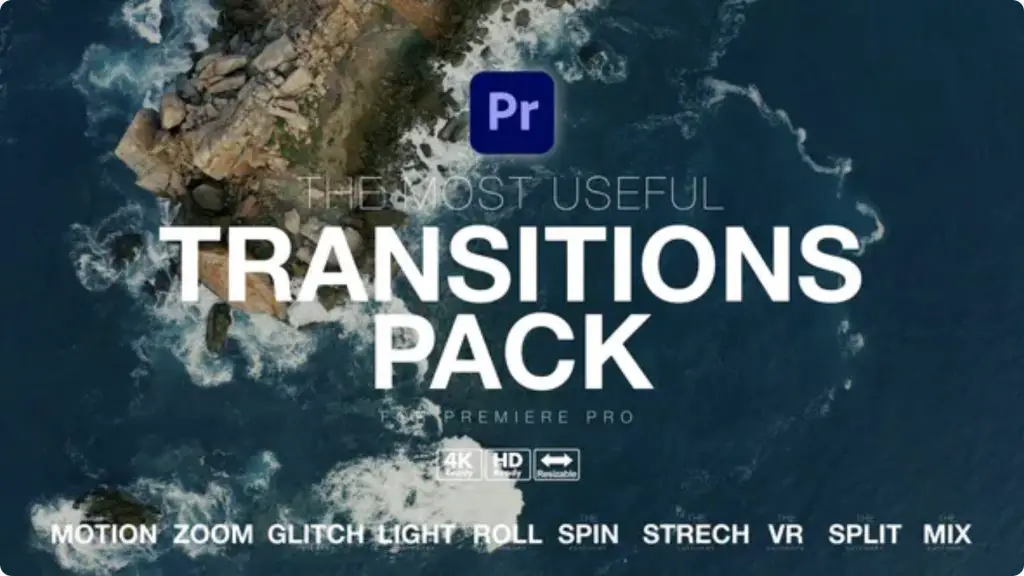
Well, the name says it all. This pack not only has tons of great options to create unique and stylized zoom effects, it includes more than 300 other great transitions as well.
If you had to just pick one, this is the one I’d suggest.
4 – Modern Transitions in Premiere Pro

Last but certainly not least is another great all-in-one preset package of transitions. I’ve actually recommended this pack in another post because I just love it so much.
Among the hundreds of great transitions in this pack, there is an entire category of just different zoom effects. You’re sure to find just what you’re looking for in this pack.
And that’s it! These are just a few of my favorite zoom transition presets for Adobe Premiere Pro.
6 – How to Zoom In and Out of Premiere Pro Sequence
Keyboard shortcuts to zoom in and out of Premiere Pro
The easiest way to zoom in or out of your timeline is by simply hitting the keyboard shortcut + or – on your keyboard.
You can also hit SHIFT + or – to change the zoom incrementally.
If you need more control over your zooming, you can click and drag on the gray bars underneath your sequence toolbar on the lower left corner of your screen.
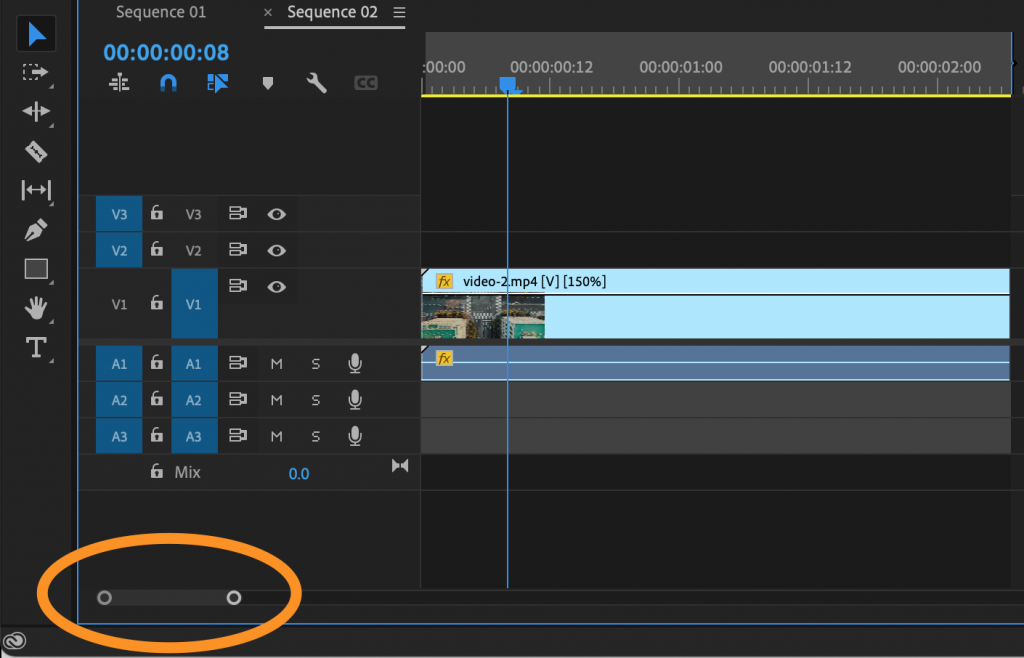
To change the height of your video or audio track in the timeline sequence, simply drag the upper or lower edge up and or down to increase or decrease the height.
How to Zoom In On an Audio Track in Premiere Pro
You can zoom in on your audio tracks in Premiere Pro the same way that you zoom in on a video track, by using the keyboard shortcut + or – on your keyboard.
You can also click and drag on the gray bars underneath the tool bar (far left bottom corner of your screen).
For more control, hit SHIFT + or – to change the zoom incrementally.
I hope this article was helpful in learning how to zoom in on Premiere Pro. If you have any questions, feel free to leave a comment below. Thanks for reading!