Let’s look at the quickest and easiest way to style your footage in black and white using Premiere Pro.
First we’ll walk through the most basic and simple way to do this right inside the program.
Next we’ll explore some more creative ways to style your film using black and white editing techniques.
Step 1: Import Footage and Place Clips Into Timeline
I always add color correction and video effects as one of the last steps in my editing process. This helps eliminate any unnecessary time spent editing clips that I won’t actually use in the end.
For this reason, it’s a good idea to already have at least a base edit in place before you start adding color effects.
Go ahead and drag your clips into the editing timeline and edit them to the timing and order that you prefer.
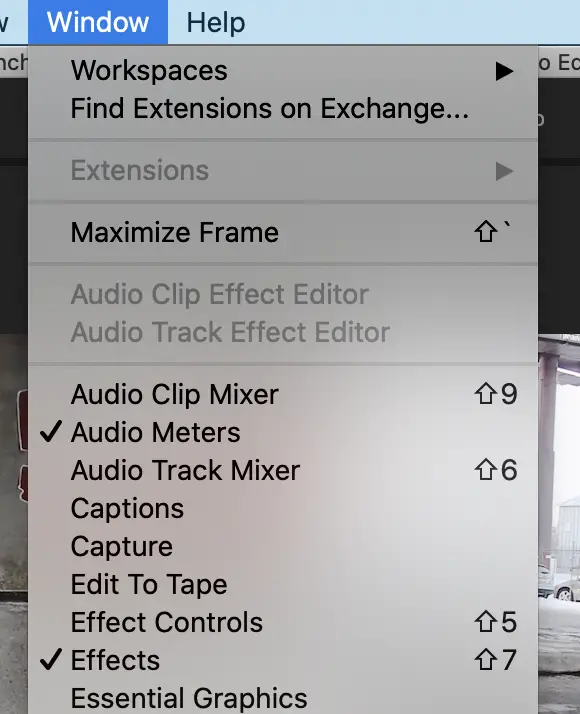
Before we add our black and white effect, you need to know where to find it first. If you don’t already see your effects panel available, navigate up to Window -> Effects to make sure it opens.
Step 3: Drag Black and White Effect to Your Clip
Once inside your effects panel, open the folder called Video Effects -> Image Control -> Black and White.
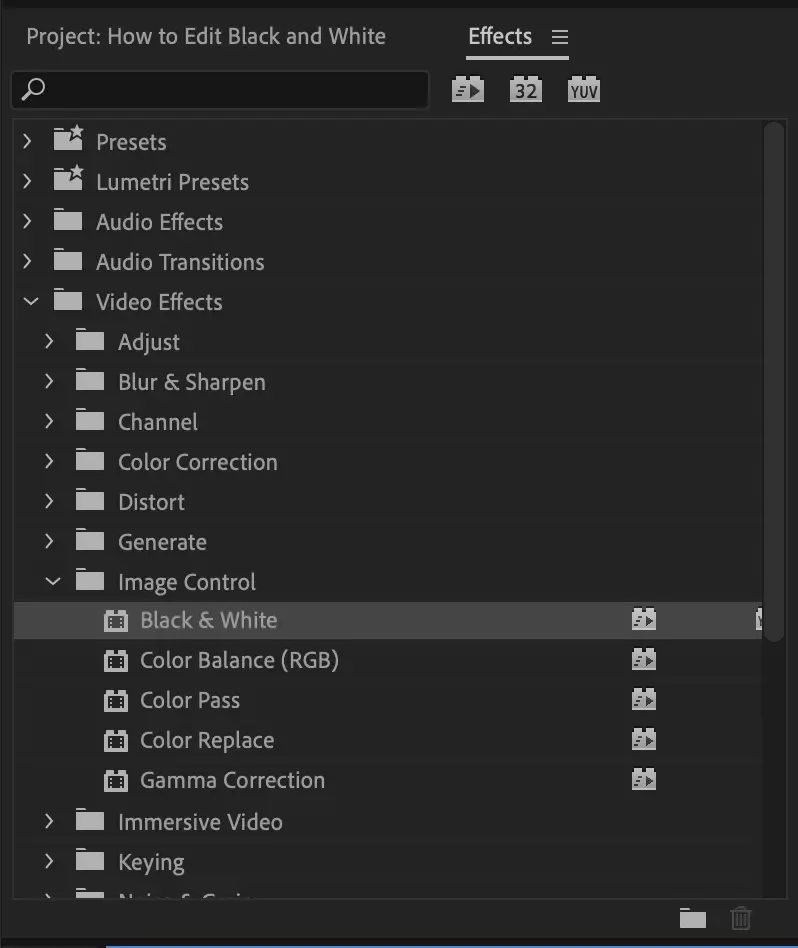
Drag this effect straight onto the clip that you’d like to transform into black and white.
You can also simply double click on the effect itself and it will be applied to any and all video clips that are currently selected.
If you’re happy with the way it looks, you can stop right there. That’s all there is to it.
However, there is so much more you can do to style your black and white clips. Keep reading for some further tips.
Tip 1: How to Add Black and White Effects to Multiple Clips at Once
In most cases, you’ll want to apply this clip to more than just one clip. There are a few ways to make this process very quick and easy.
1 | Simply highlight or selected all the clips that you’d like to change to black and white and either drag the effect on top of them or double click the effect.
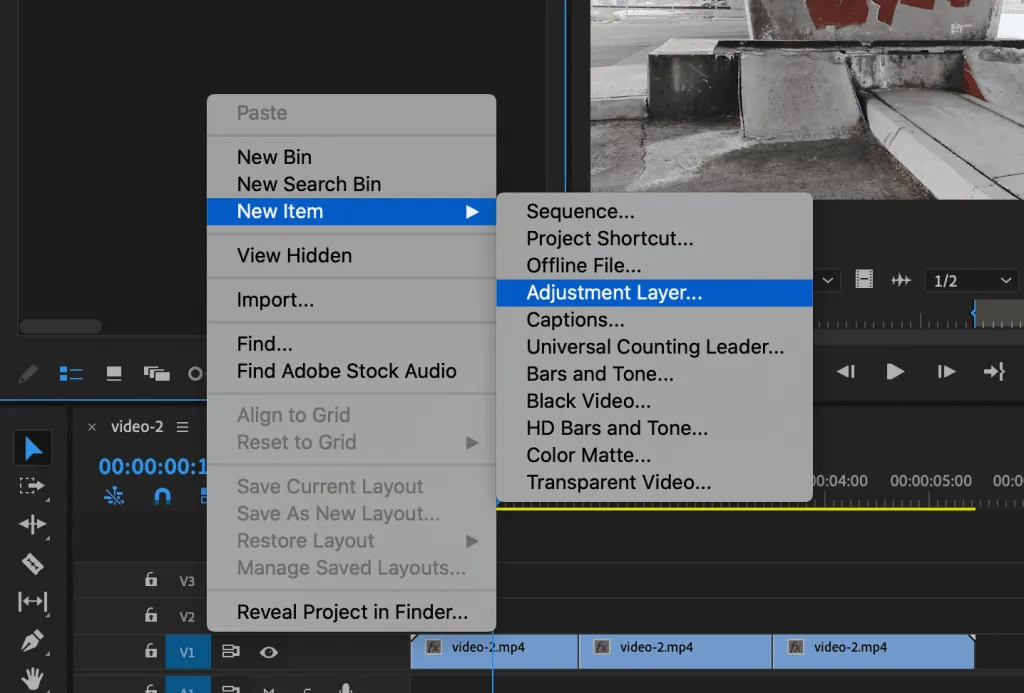
2 | Create an adjustment layer on the layer above your current video clips and apply the same affect to the adjustment layer by dragging the effect onto the adjustment layer or by double-clicking on the effect while the adjustment layer is selected.
Keep in mind that an adjustment layer acts like a piece of glass. If you apply a filter on top of it, that filter will affect any layer that is underneath the adjustment layer.
For a more in-depth explanation of how adjustment layers work, check out this post all about it. Adjustment layers are really quite simple to use and can be super helpful in complicated edits.
Pro Tip: If you decide to make any changes to your black and white effect, it will be very helpful to use the adjustment layer method. This will allow any changes that you make to apply to ALL clips underneath that adjustment layer at once, instead of having to go through each clip one by one to make tweaks.
Tip 2: Quick Ways to Style Your Black and White Footage
Once you’ve applied the basic black and white effect, your footage may still need a little styling to make it look just right. Here are a few quick adjustments to give it an extra boost.
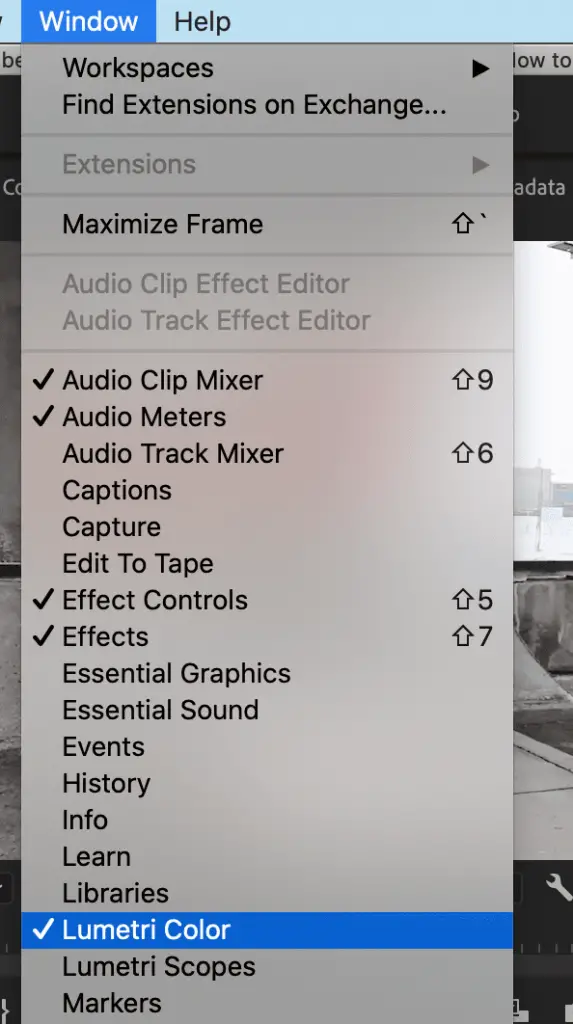
First, make sure that your Lumetri Color window is open. To do this navigate up to Window and ensure that it is checked.
1 | Set Exposure
Before you make any further adjustments, you need to first make sure that your exposure is set correctly.
I’ll never forget my college film professor who always told us when exposing our black and white film in the dark room – make sure you can see pure blacks, pure whites, and everything in between.
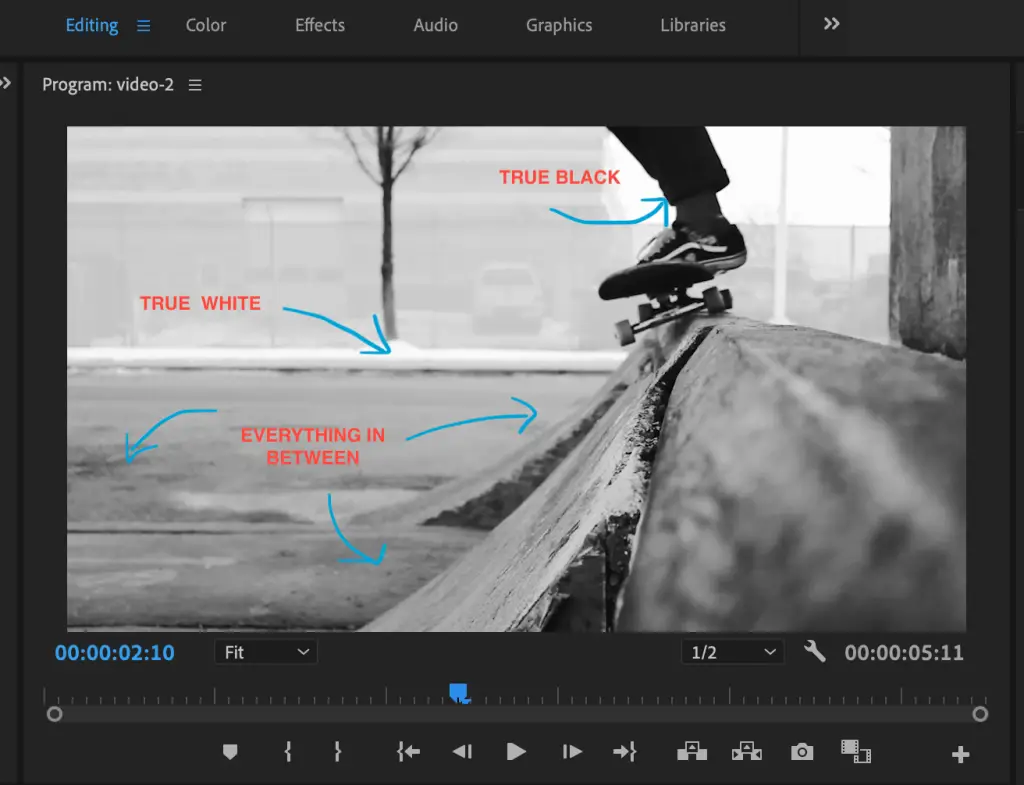
Not every shot will be perfect, but this guideline has always stuck with me. When exposing your shot, expose it in such a way that you can see blacks, whites, and everything in between.
To adjust exposure, simply drag the exposure control bar under the Basic Correction tab in Lumetri Color.

2 | Add Contrast
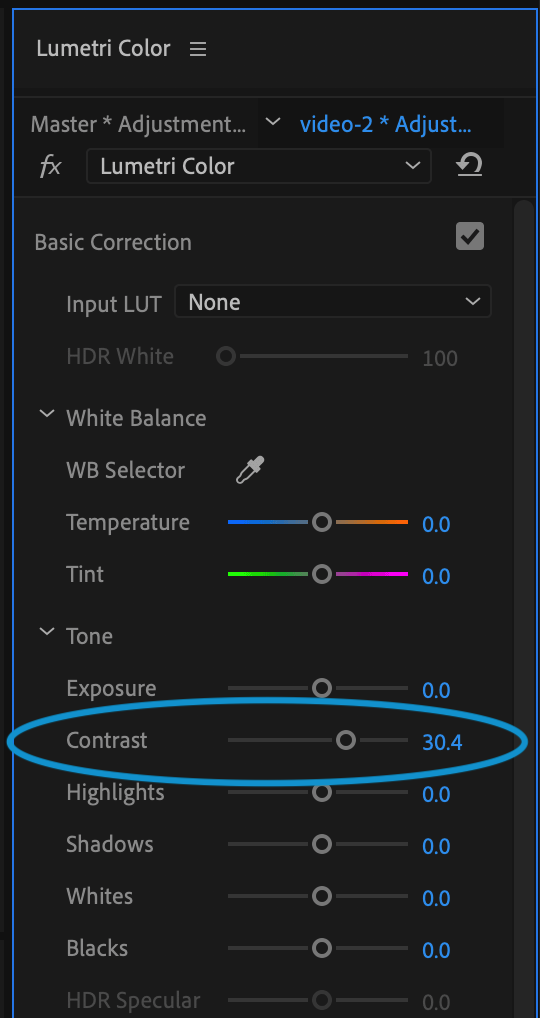
In just about every case, you will want to adjust the contrast of your clip. This simply means making the dark areas more black and the light areas more white.
Simply drag the contrast controller under the Basic Correction tab in the Lumetri Color window. The amount will depend on your clip and your preferences. I set mine around 30 in this case.
3 | Choose Your Style
Now that we’ve covered the most traditional, Ansel Adams sort of styling for black and white footage, let’s talk about a newer trend – the film fade.
You may like the look of a more muted, gray tone to your footage as seen below. That’s perfectly fine. There are technically no rights and wrongs here. That’s why film is an art.
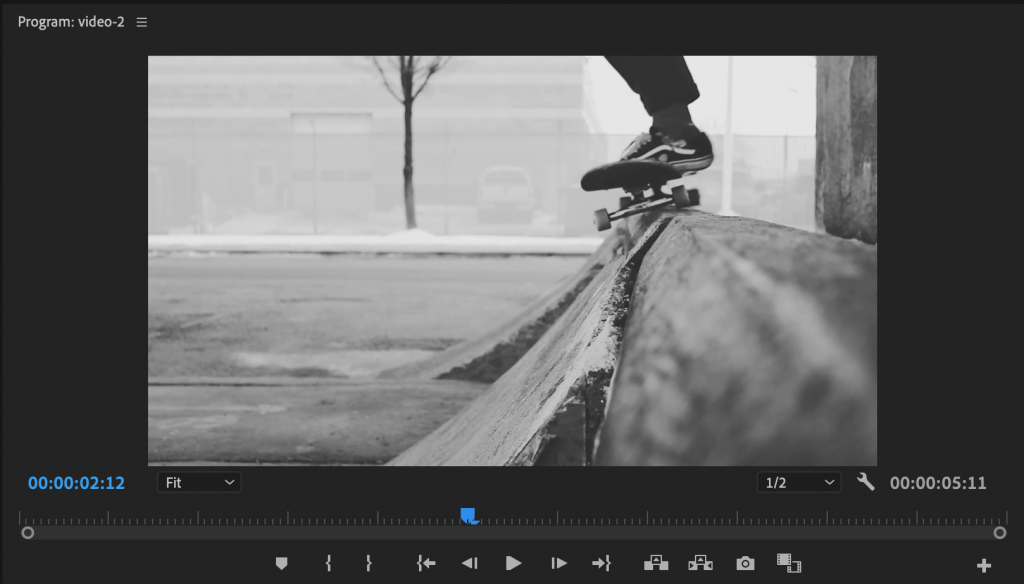
You are the artist and it’s totally up to your preference. If you want to achieve this more matte look, then follow these steps.
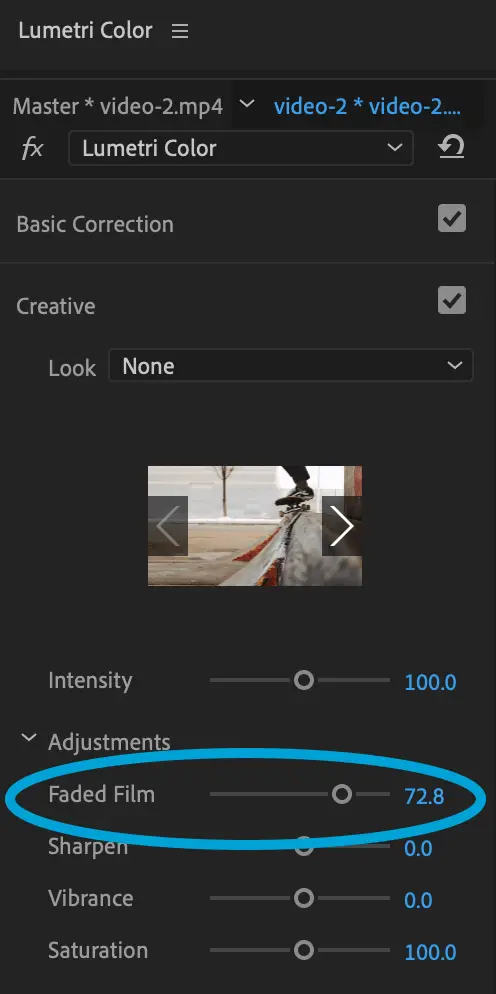
Method 1: The quick and easy way to achieve this effect is to navigate to the Creative tab within the Lumetri color window, next simply slide the Faded Film adjustment level to where you’re happy with the desired look.
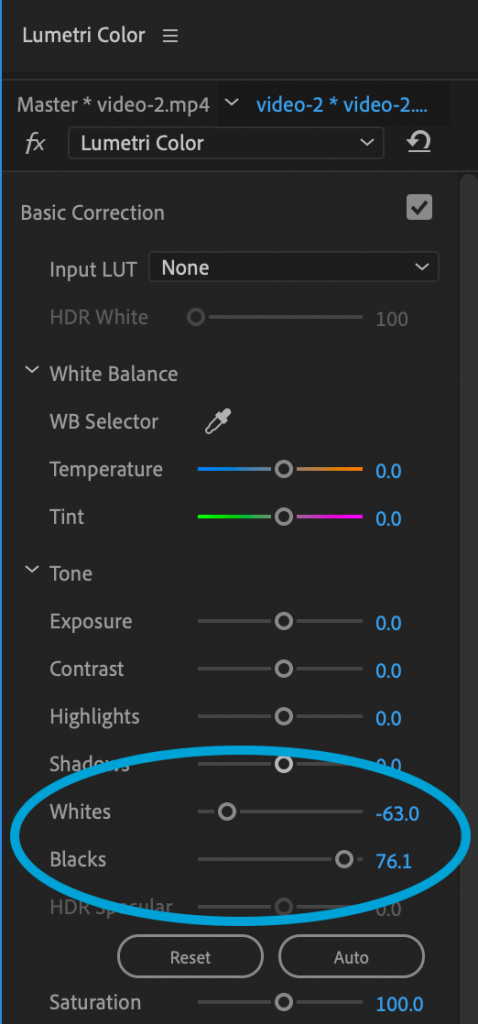
Method 2: If you want to have a little more control over your image, you can simply adjust the white and black levels individually. To achieve this same look, bring your whites DOWN and your blacks UP. These levels can be adjusted in the Lumetri color window, under the Basic Correction tab.
4 | Explore Professional Presets or LUTs
The final tip I’ll give is to explore some of the incredible work out there already done by other talented artists.
If you aren’t familiar with presets or LUTs, they are simply settings that other artists have already created that you can apply to your own footage to easily achieve a similar look and style.
There is absolutely no shame in having a few of these on hand. I have many and use them often to save time and to make my footage look even more cinematic.
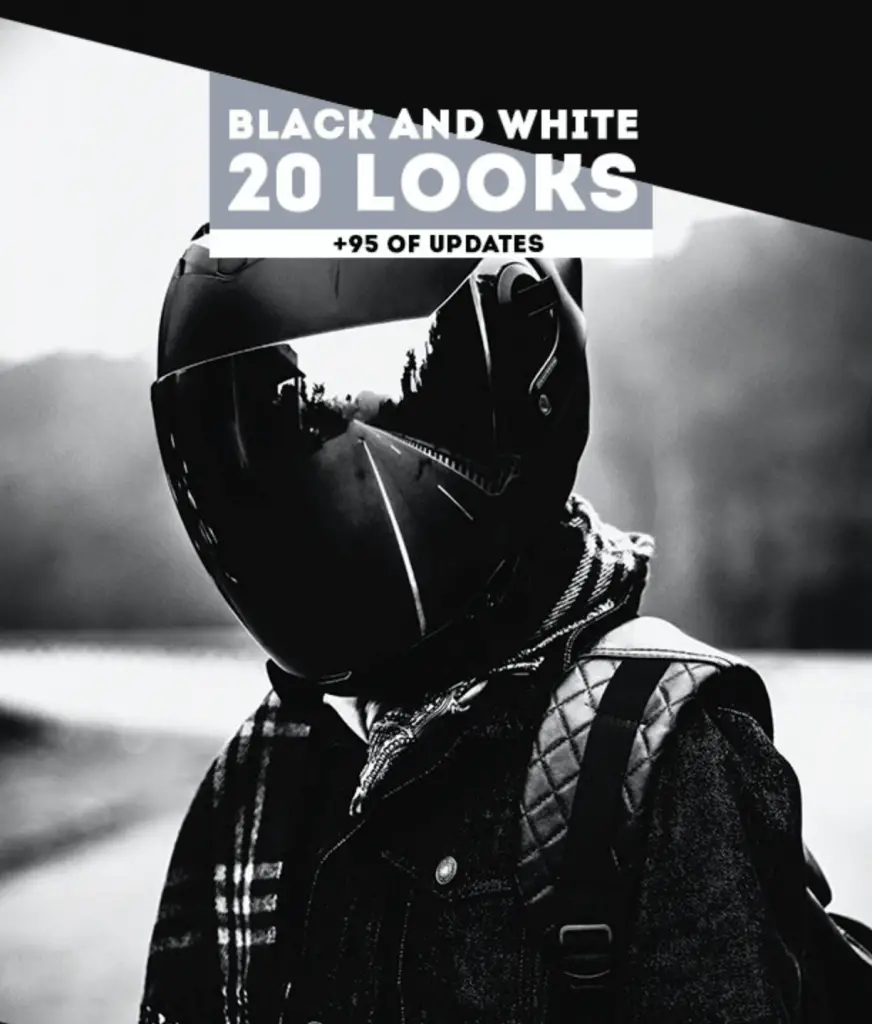
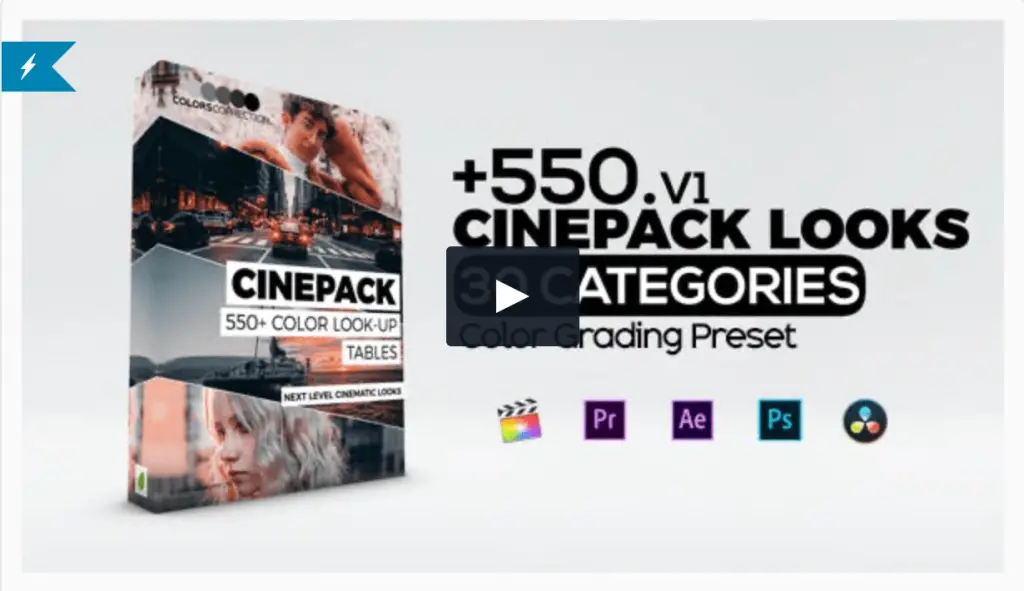
Here are a few of my favorite black and white footage LUTs you may want to explore.
Concluding Thoughts
I hope you’ve seen how easy it is to style your footage in black and white using Premiere Pro. For more tips and tutorials, be sure to check out more of my Premiere Pro Tutorials here.
If you have any questions, just leave them for me in the comments below. Thanks!
-Beth
Share on Pinterest: