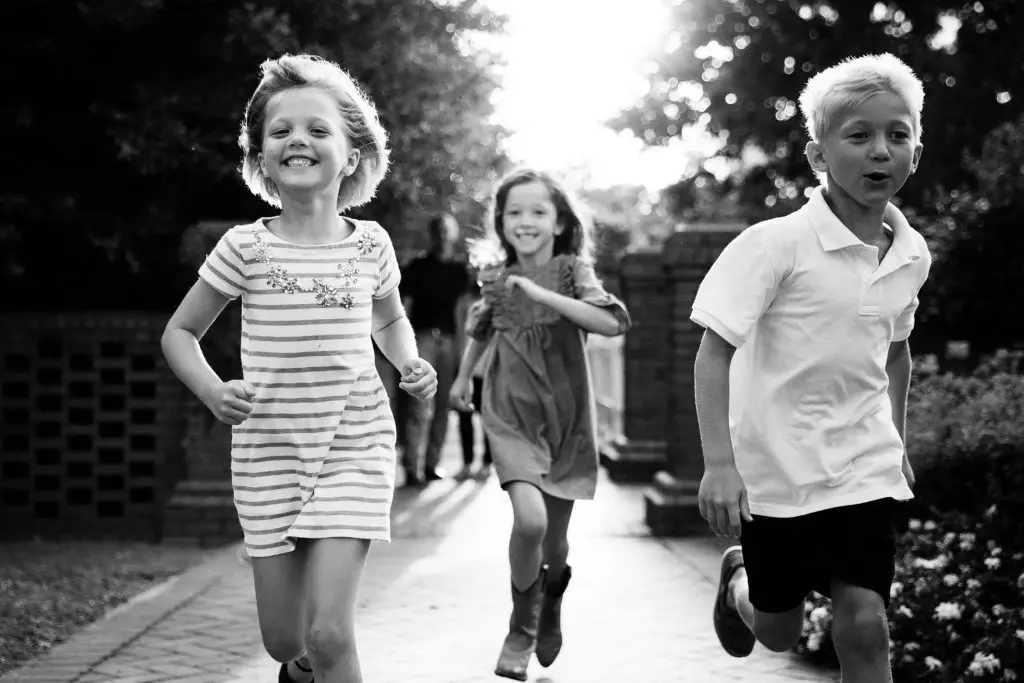
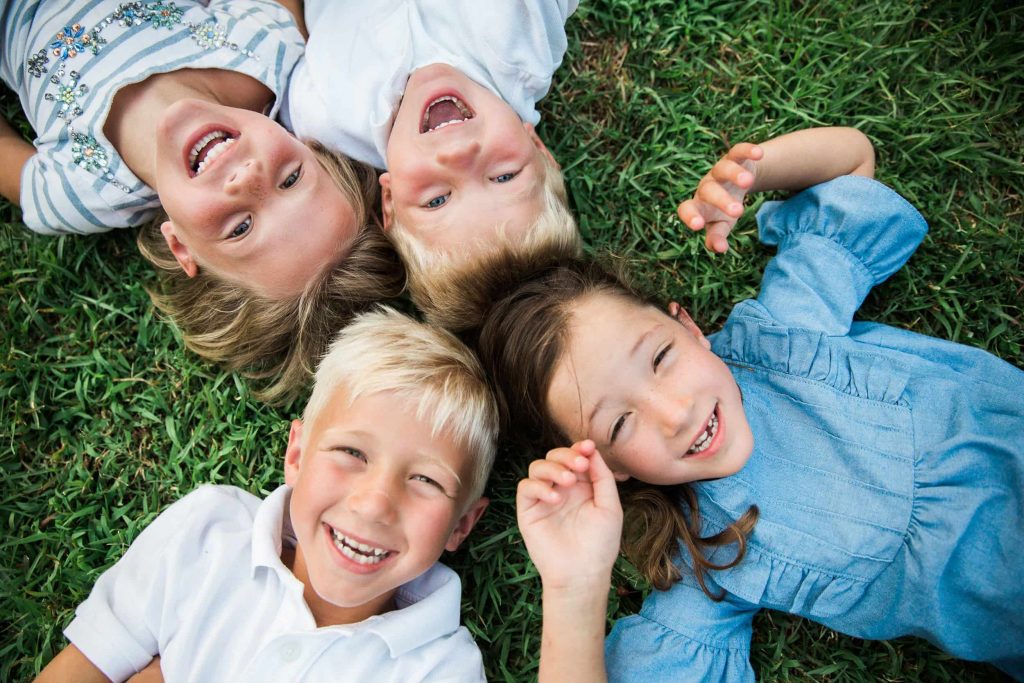
The task of photographing four young kiddos can be daunting, but it is also the perfect recipe for authentic photos, full of life and energy.
Here are 5 tips to help you feel comfortable and confident taking pictures of a big family.

Step 1: Plan Ahead for your Family Photoshoot
Being prepared begins well before you have even met the family.
Start with the first method of communication – oftentimes this is an email from mom asking to book a session. Be sure to follow up with a warm welcome email (or even better, a phone call).
Make it personal. Introduce yourself and let the parents know exactly what to expect the day of your shoot. Ask questions about their children – what are their names, ages, and interests?
This will not only help mom and dad feel a little more comfortable before you actually meet them, but it will also give you a little heads up on what to expect from the children.
It helps so much with little ones when you can get down on their level and let them know you are interested in them.
In this case, I knew that there would be two boys under the age of 7. This meant a lot of fart jokes were involved. That is something I knew to have in my little bag of tricks before I even met this family. You ask mom a number of additional questions that are also helpful to know ahead of time. Are any of her children overly shy? Are any overly energetic?
These are all great things to know ahead of time so you can go ahead and prepare yourself with ways to handle those specific situations when it comes to shoot day.
Step 2: Pick the Best Location for a Large Family with Kids
Scout out a location well in advance of your shoot date. Go there ahead of time at the same time of day that your shoot is scheduled and map out an idea of where you will place the family for a number of shots.
In my town, I have about four key locations that I return to time and time again. I know exactly where the sun is going to hit at just the right spot for perfect backlighting. I also have a few great little places where I know groups of kids will fit really well together – up in a small (and safe!) tree or perched on a large rock.
Another consideration is to make sure that the location you choose is not overly crowded. The last thing you need is to be fighting with a crowd for all the spots you have preplanned beforehand. You also don’t want the undue pressure on you or on your family of crowds of people watching you.

Step 3: Put Together a Shot List
Over time, you will become so familiar with your own flow during sessions that you will not need to make a new shot list every single time. However if you are a new photographer, it is so important to have a short list either in your mind, jotted down on a slip of paper, or (insider trick) take a picture of one on your camera before your shoot and then look at it on the back of your camera screen during the shoot if you need a quick reminder.
This is far less awkward that glancing at a cheat sheet in the middle of your session. The family will just assume you are checking a shot. Here are a few of my go-to shot list ideas. You will find more examples in the next few tips as well.
- With small kids, I find it most effective to go ahead and start with a few portraits, where the whole family is looking at me. Once the kids warm up to me and start having fun, I usually have a harder time getting them to sit still for very long. Make sure you get a full family portrait and then move on to smaller groupings – portrait of just the kids, just the parents, just the girls, etc.
- Once I have a handful of solid portraits, I move on to more lifestyle type photos. I try to get the family a little more connected and interactive. I often ask them to look at each other. This often ends up with them feeling a bit awkward or silly, which it exactly what I wanted because then they all start giggling or laughing. With little ones, I will ask dad to tickle one of the kids. Once they get even more comfortable I will prompt them to just hang out for a few minutes and ignore me.

- If I have a shy little one that I just cannot crack a smile, my go to line is usually ‘doooon’t smiiile!’ I continue to tease them like this and 99% of the time they just can’t hold it in. I also ask if they see the little ladybug inside my camera lens.
- Make sure to get a variety of close ups and wide shots. I begin with wide shots for portraits and then as we start to move around, I make it a point to grab close ups of anything that seems interesting. I also try to grab a few close up portraits of each of the kids faces.


The girls in this family are twins, but interestingly they have very different personalities. I thought it was so cute how they had picked such different shoes. This is a great shot for mom to remember their little personalities by. If you have situations like this with two girls or twins, don’t be afraid to focus on it for a bit.
I took the girls away for a bit, which made them feel special and gave the rest of the family a bit of a break, and I let them just let loose together. I had them dance and play and do what girls do.


Step 4: Plan to have Fun During Your Photography Session
These guys really nailed it. We had so much fun! We ran, we played, we laughed, and laughed some more. You can really see their little personalities bursting through every photograph.
It is so important that you as the photographer and leader of this session are having fun too. Your family will never relax or open up if you cannot do so first. And that will absolutely show in your photos.
Here are some ideas that I frequently use with large families to help them open up and have fun.

Here I went ahead and sat mom and dad down on the blanket and then took the kids to the side and whispered what I wanted them to do. This made them feel so special and excited, like they were getting to do something fun and a bit mischievous, since dad and mom didn’t know what to expect.
I told them to start behind their mom and dad, get a running start, and then jump onto their backs. Look at how much fun they had! Sure, not everyone is perfectly posed or looking right at the camera, but that is not really the point. Mom and dad will look back so fondly on a moment like this, with all their kids laughing and having fun.
Look at mom’s face, that’s real. You simply can’t pose that.
The cool thing that happens is that usually after a moment like this, the family will settle down a bit and you will also get a winning portrait shot.

Here I had mom and dad stand still and told the kids to run towards me as fast as they could, like a race. They loved it and I got a handful of fun shots from it. I believe we did this 3-4 times.
Step 5: How to Group Kids During Your Family Photo Shoot
This also sort of falls under the shot list tip, but it is important enough to my flow that I thought it deserved it’s own space. It is so important to be sure that you get all the important groupings of family members, especially with a large family. In this case I made sure to get:
- a few of just mom and dad
- all the kids
- the girls together
- the boys together
- each child individually


Be sure to move the family around to handful of spots as you go. Once I have accomplished all my groupings, if there is still time I just continue to let the family have fun and enjoy the surroundings.
To me, this is the joy of lifestyle photography.
I always go in with a plan, but I am continuously surprised and excited by all the spontaneity and personality that comes from each family shoot. I hope you have enjoyed learning about a few of my own tips and tricks for taking great photos for a large family.
Let me know in the comments how you handle your family photos. Do you have any tricks that I didn’t mention?
